Fermented vegetables: the secret to a healthy gut and glowing skin
One of the easiest and most natural ways to support your gut health (which is directly linked to clear, radiant skin) is by incorporating fermented vegetables into your diet.
Fermenting vegetables isn’t just a fun kitchen experiment; it’s a technique that naturally enhances probiotics, those beneficial bacteria that help balance your gut microbiome. A happy gut = smooth digestion, better nutrient absorption, and ultimately, healthier, more glowing skin. Plus, they’re super easy to make, last for months in the fridge, and are a perfect quick addition to any meal.
Why Fermented Vegetables are a Skin Superfood
Rich in Probiotics → Healthy gut bacteria help reduce inflammation, a major trigger for acne, redness, and dull skin.
Better Nutrient Absorption → A balanced gut helps your body absorb more skin-loving vitamins like A, C, and E.
Supports Detoxification → Fermented foods aid digestion, preventing bloating and promoting a clearer complexion.
Boosts Hydration & Elasticity → A healthy gut microbiome can support the skin’s moisture barrier, keeping it plump and radiant.
Fermentation is easier than you think!
If you’ve never tried fermenting veggies before, don’t worry, it’s way easier than it sounds. All you need is veggies, salt, and time. The process is simple, and once they’re ready, you can store them in your fridge for months, making them an easy and nutritious option when you’re short on time.
How to ferment red cabbage (or any veggies)
One of my personal favorites? Red cabbage with apples. The sweet and tangy mix is absolutely delicious and packed with antioxidants. But you can get creative with ingredients: carrots, beets, radishes, ginger, ... all work amazingly well.
Basic fermentation recipe
1. Prep your veggies → Chop or shred your veggies and weigh them. Multiply their weight by 0.02 to calculate the amount of salt needed.
2. Massage with salt → Mix the salt into your veggies and massage them until they start releasing liquid. Let them sit for 30 minutes to 1 hour to allow more liquid to develop.
3. Pack into a jar → Tightly pack the veggies into a clean glass jar, making sure they are submerged in their own liquid. (Use a clean weight or a cabbage leaf to keep them down if needed!)
4. Let it ferment → Cover the jar loosely and let it sit at room temperature for 1-2 weeks. Every 3 days, open the jar to release gas buildup.
5. Taste & store → Once it reaches your preferred flavor (I like mine after about 8 days at 21°C), transfer it to the fridge to slow down fermentation. It can last for several months!
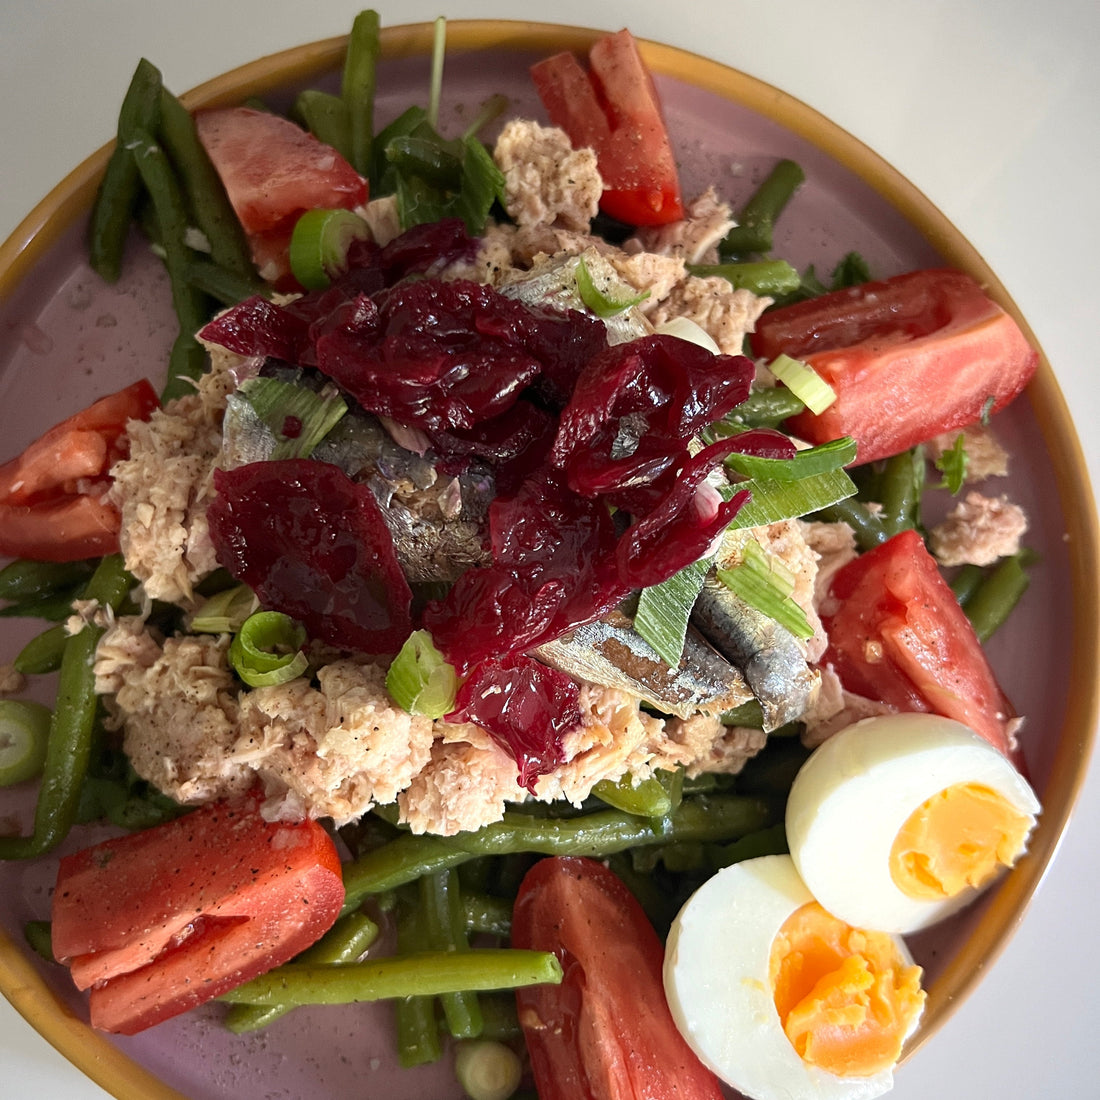
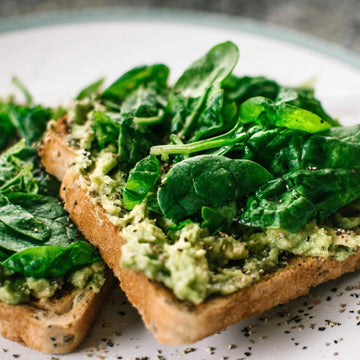
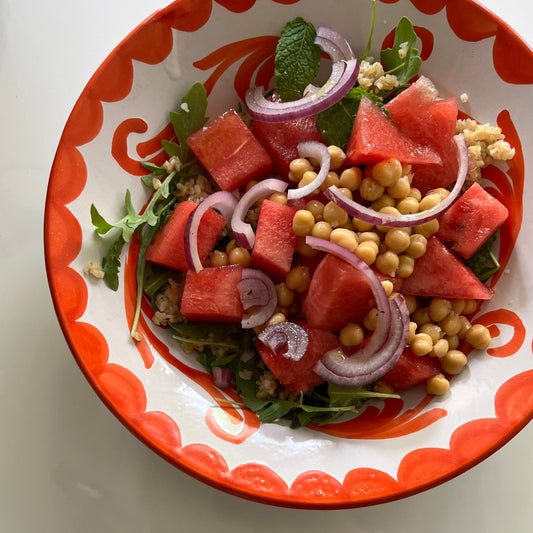
Fermented veggies are the ultimate lazy but healthy food hack. They’re packed with flavor, require no extra preparation when you’re busy, and deliver a gut-health boost. Add them to salads, sandwiches, bowls, or even as a side to any meal—your skin (and digestion) will thank you!

No comments